The firmware update feature allows you to remotely update the application running in the device. It is up to you to define how the update itself is done, Cloud Connector only provides the hooks for achieving this.
This feature is fully implemented for TWRK60N512. However, in other boards, this is only a stub example which shows the necessary hooks but only prints out data rather than writing it to a physical device.
To test the stub example, it is only necessary to define the following macro in the connector_config.h file using any build configuration:
#define CONNECTOR_FIRMWARE_SERVICE
The default connector_config.h file automatically defines the APPLICATION_FIRMWARE_SERVICE_STUB macro if the build configuration is nottwrk60n512_FirmwareUpdate.
Build the application and launch it.
The TWRK60N512 board has a full implementation that makes use of a bootloader (FNET bootloader v1.2.2, find the sources in the FNET Bootloader folder in the installation path) and a special internal flash division. The firmware update service’s hooks write the received firmware in a flash partition and then, on reset, the bootloader looks for a mark in that partition that indicates that the firmware download was successful and after copying the new image, boots the new application. However, if the firmware download was interrupted or is corrupt, the download is ignored and the old application is booted. This way, the firmware update is very reliable but the application size is limited by allocating some space for the bootloader and half of the remaining space for firmware downloads.
The application to be downloaded must be built using a special build configuration (twrk60n512_FirmwareUpdate). This configuration links against Debug libraries and uses a special linker command file which adds an offset to the application to avoid conflicts with the bootloader. This configuration also defines APPLICATION_FIRMWARE_SERVICE_FULL to enable some necessary code.
To perform the firmware update you will need a TFTP server running in your PC. If you need help setting up one, please refer to the FNET TCP/IP stack documentation available online or in the FNET Bootloader folder in the installation path.
The following steps will guide you through the firmware update process:
|
|
This feature requires the BSP be built with Flash support enabled! |
To add flash support modify the BSPCFG_ENABLE_FLASHX macro's definition within the BSP project's user_config.h file and rebuild the BSP library.
#define BSPCFG_ENABLE_FLASHX 1
Then, rebuild both the Debug and Release configurations. It is not necessary to rebuild Release because the twrk60n512_FirmwareUpdate configuration links against Debug libraries, but it is recommended to do so.
Refer to the Build MQX Libraries section for more information.
|
|
Debug libraries are used because of a failure in the FLASHX driver when using Release libraries. There is a workaround documented in the troubleshooting section. |
Build your Etherios Application taking the following into account:
| Do not try to launch this application using CodeWarrior or IAR unless you are very familiar with these tools. Follow all steps in order. |
#define CONNECTOR_FIRMWARE_SERVICE#define CONNECTOR_FIRMWARE_VERSION {0,0,0,1}{MAJOR_NUMBER, MINOR_NUMBER, REVISION_NUMNBER, BUILD_NUMBER}Copy the generated .S19 file to your TFTP Server folder, and rename it (app.s19, for example). To find the .s19 file in:
Flash the application bootloader.out. This file contains the FNET bootloader v1.2.2 which enables the firmware update functionality through Device Cloud. You can find this file at:
[Etherios_Cloud_Connector_Installation_Path]\Tools\FNET Bootloader. You can learn how to flash this file within the following:
Connect your favorite Serial Terminal application to your TWRK60N512 Virtual Serial Port to see the bootloader’s output. The application will be flashed to the module through the TFTP server you set up before. To do this, enter the following:
dhcp
erase all
tftp app.s19 192.168.1.123
save
go
Where "192.168.1.123" is your TFTP server IP address. For more information, refer to the FNET bootloader documentation, available online or in the FNET Bootloader folder in the installation path.
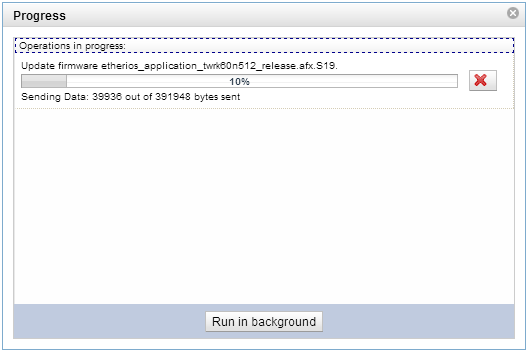
Once the download is complete, reboot the module to ensure that the bootloader boots correctly within the application. Once booted, your application can be upgraded remotely through Device Cloud.
To update your device's firmware directly within Device Cloud:
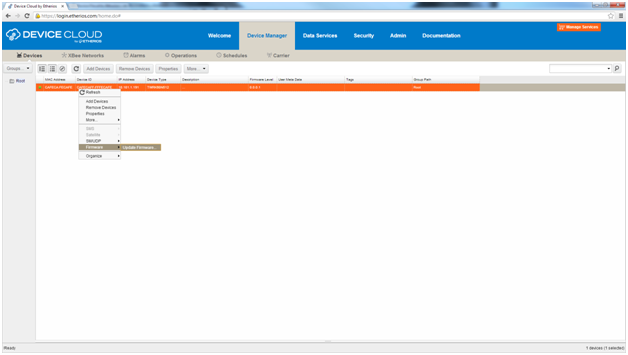
| Remember that you must build your application with the twrk60n512_FirmwareUpdate build configuration, otherwise the resulting application will not work properly. |