Configuring Digi with Serial Printers in Windows 2000
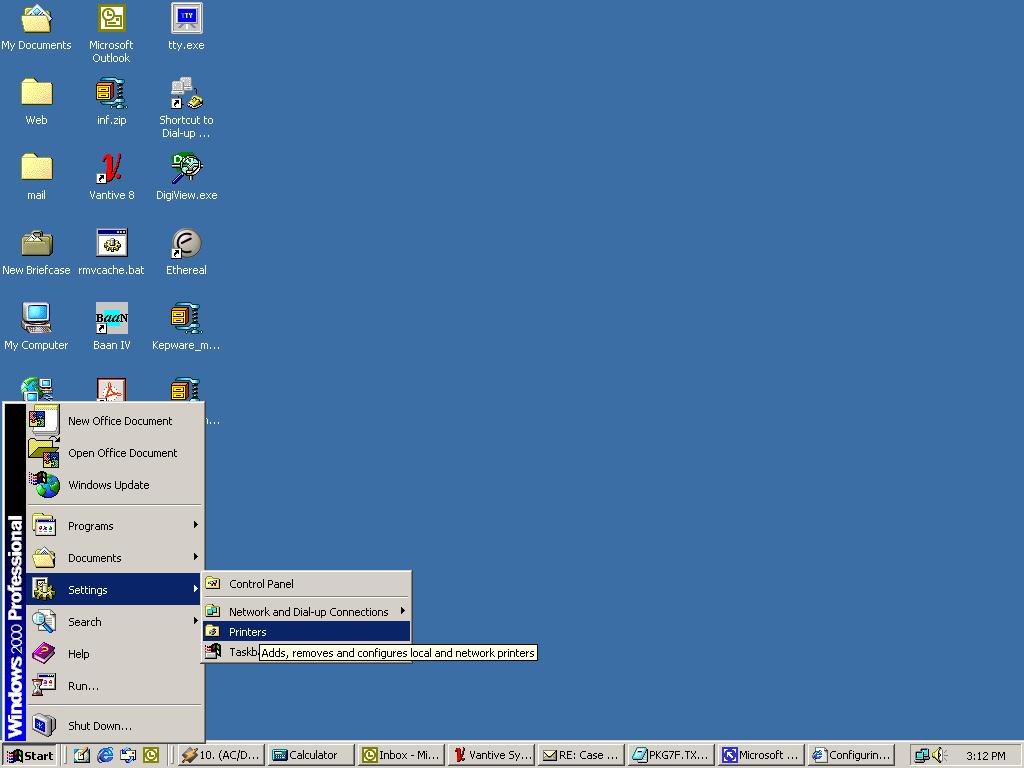
1. From the Start button go to Settings and select
Printers.
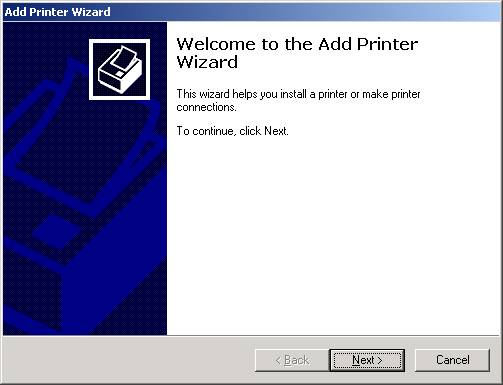
2. Double-click the Add New Printer Wizard.
3.
This will bring up the Welcome to the Add Printer Wizard screen. Click Next.
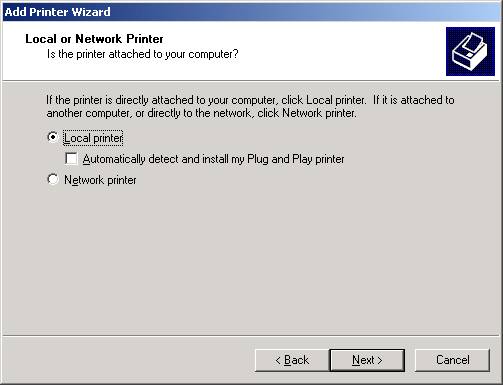
4.
Select the Local Printer option. Click Next.
5.
Select the Use the following port option and using the scroll bar, highlight the
Digi com port you have the printer connected to.
Click Next.
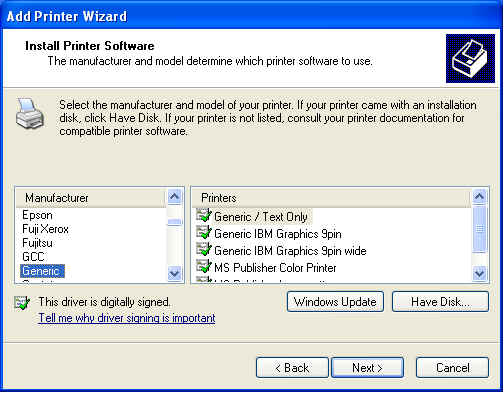
6.
Select the Manufacturer and Model of the Printer you are installing. Click Next.
7.
Enter a name for the Printer and specify whether
this will be the default printer. Click Next.
8. You will now have the option to share the printer. Click Next.
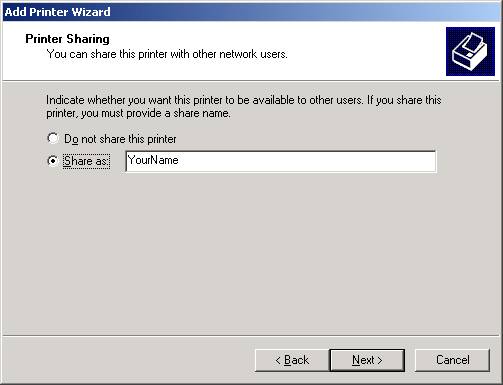
Figure 7
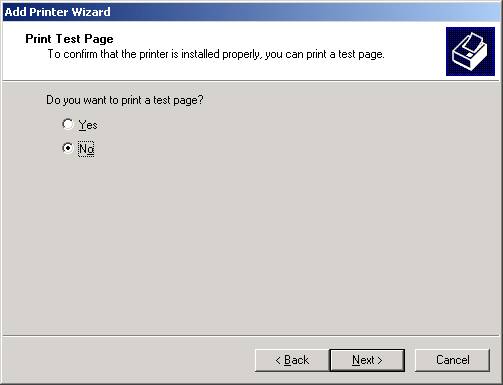
9. The printer will not be available until the server is rebooted. Select
No when asked to print a test page.
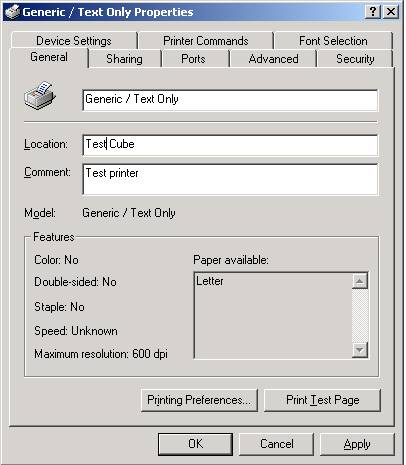
10.
Go back into the Properties of the Printer you just added. You will want
to make sure that the port settings, on the
Ports tab, are configured to match what you have configured on the printer.
11. To print a test page, reboot the Windows 2000 Server and then select the
option to Print Test Page
from the properties of the newly added printer.