ETHERLITE REALPORT DRIVER INSTALLATION UNDER WINDOWS XP
- Go to Control Panel and select the Add/Remove Hardware Wizard
(see Figure 1).
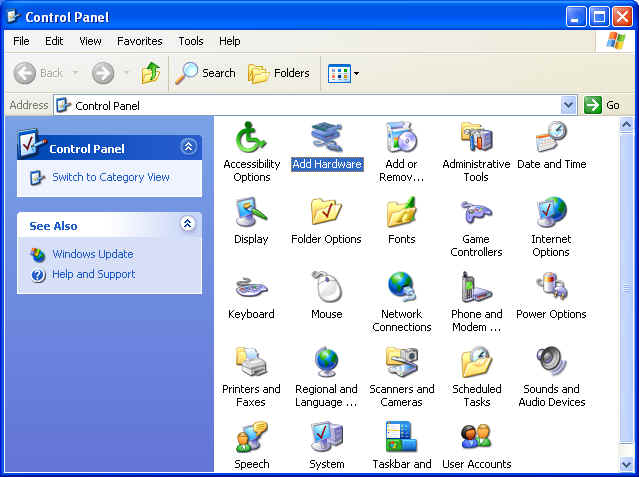
Figure 1 - At the Welcome to the Add Hardware Wizards screen, click Next
(see Figure 2).

Figure 2
- Select the option to Yes, I have already connected the
hardware (see Figure 3).
Click Next.
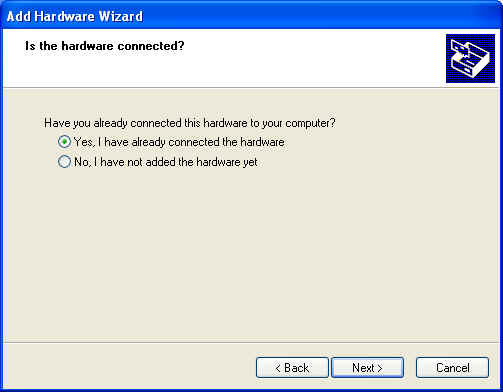
Figure 3
4. Select the option to Add a new hardware device (see
Figure 4). Click Next.
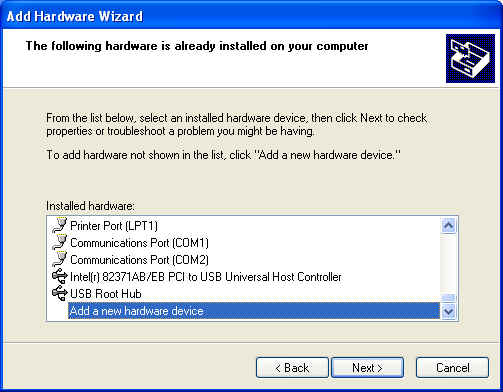
Figure 4
5. Select the option to
install the hardware that I manually select from a list (see Figure 5). Click Next.
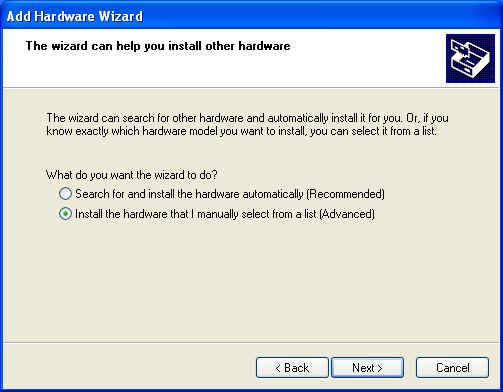
Figure 5
6. Select Multi-port Serial Adapter from
the list of Hardware Types (see Figure 6). Click Next.

Figure
6
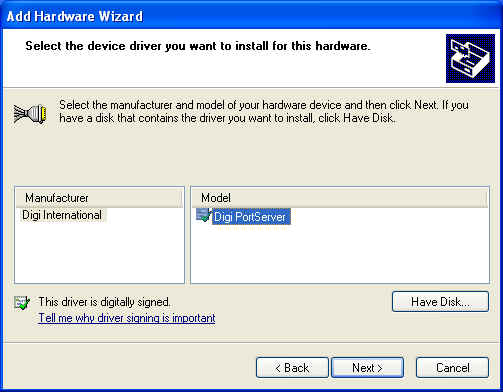
Figure 7
8. You will get a message
showing you the hardware that is about to be installed (see Figure 8).
Click Next.
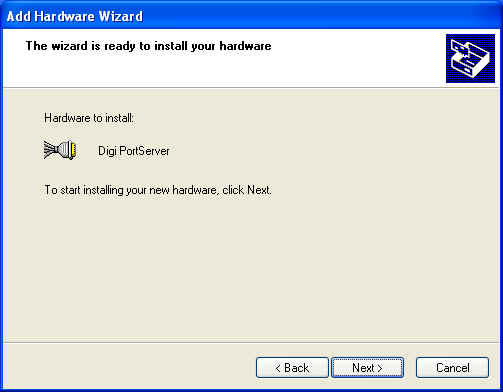
Figure 8
9. You will need to configure
an IP address for the EtherLite before loading the driver. If you
have not already done so, select the DgIpServ
button and step through the
Store
IP Settings wizard. After you have finished assigning the IP address, you
will come back to
this screen
(see Figure 9). Enter the IP address you assigned to the
EtherLite. NOTE:
Leave the TCP port set to 771
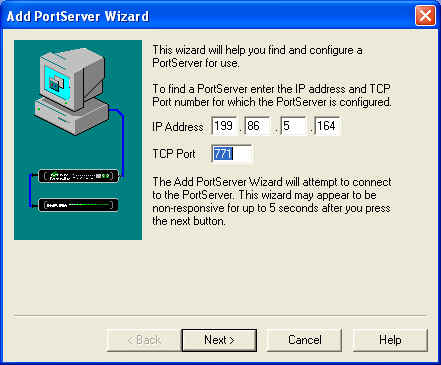
Figure
9
10. Give the EtherLite a name and
specify the number of ports you want to add (see Figure 10).
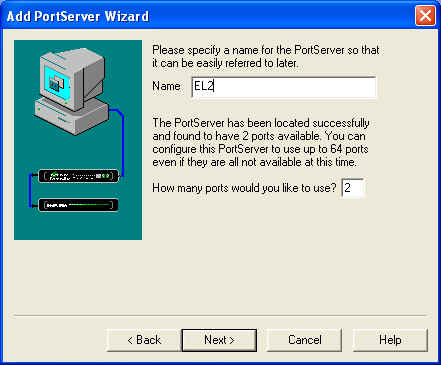
Figure 10
11. You should now get the EtherLite
configuration screen showing the com ports the EtherLite will be assigned (see
Figure 11).
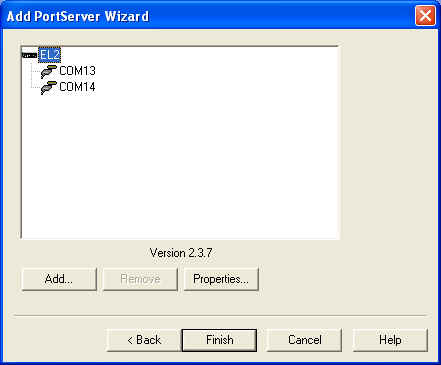
Figure 11
12. Click Finish (see Figure
12).
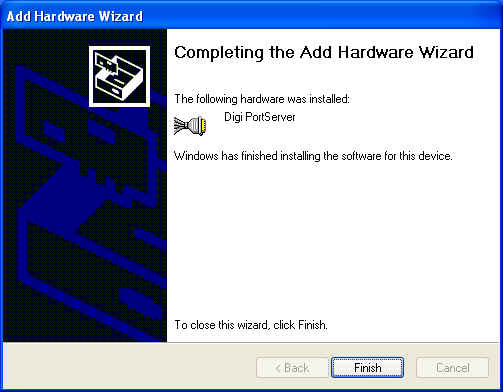
Figure 12
13. Your EtherLite should now show up under
Device Manger, Multi-port Serial Adapters and the com ports added under Ports.