Authority Remote).
2. A screen like this should appear:
PortServer TS and
Digi One Device Server Inbound PPP Configuration via the
Web Interface
NOTE: Make sure you are running the latest firmware for the Digi product you have. For the latest firmware go to www.digi.com and select your product from the drop down list. This will bring you to the latest firmware version available for your Digi product.
1.
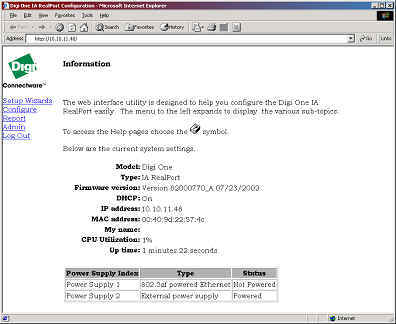
Open a browser window, point to the IP address of the
PortServer TS or Digi One Device Server, and login as root (or use Digi Port
Authority Remote).
2. A screen like this should appear:
3. After logging in select Configure,
Port.
4. Click on Port 1 to
bring up the Port Configuration screen.
5. Set device type to Modem in (or Modem if
bidirectional)
6. Click on the PPP Tab.

7. There are several schools of thought for handling Routing with our PPP
abilities. To test the PortServer use Forwarding=Passive
and Proxy-Arp.
1) Static. Where you place the routes manually in
the machines in question. This can be a fairly labor-intensive process, and may
require
a bit of work to keep up.
2) Proxy-Arp: Where your PPP client is on the same
network as the Digi-One (172.17.153.x) and the Digi-One is responsible to
see that packets get to the PPP
client. This will require an extra Network IP address for the PPP client. (This
is probably the
preferred, and easiest method)
Command: set forwarding state=passive proxyarp=on
3) RIP: The process of having the Digi-One advertise
to the other routers on the network that they have a way to get to a specific
network, In this case the PPP Clients
network. A few drawbacks include: a) Your current routers must use RIP to
advertise routes
between them. b) Each PPP client must
be on it's own network. c) If Split-Horizon or Poison Reverse is not used, you
will
experience some route Convergence
issues.
8. Do not initially configure an IP Address. Start with an IP Address
on the same subnet as the PortServer otherwise you get into configuring
whether or not other devices know how to get to the
PortServer.
9. Configure a User by clicking Add User after selecting User
Menu from step #2 under the Inbound PPP section.
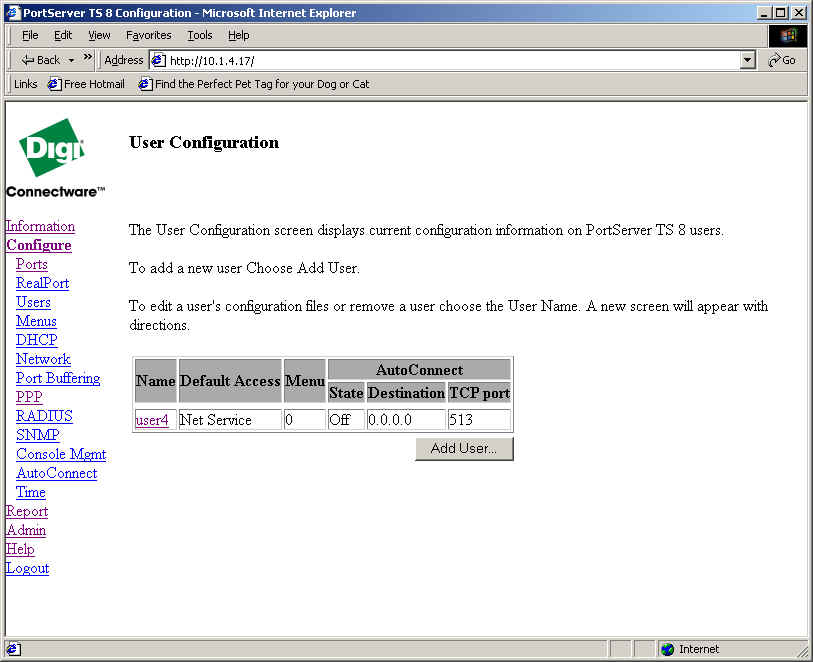
10. Initially set username and password to be the same.
11. Default service should be NetService (if this is a PPP user. This setting is
required for PPP users)
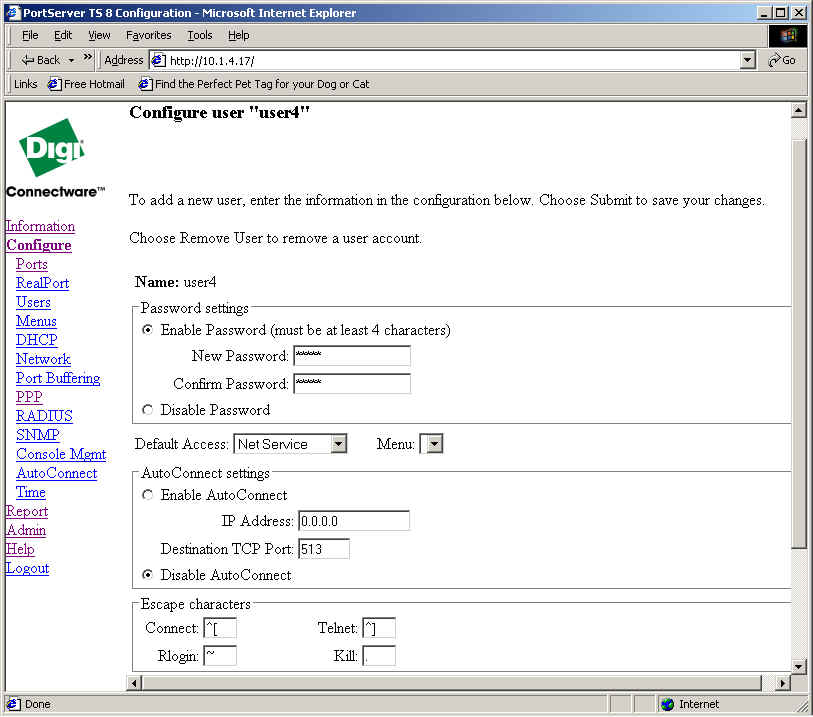
12. Select Inbound PPP Settings at the bottom of the page.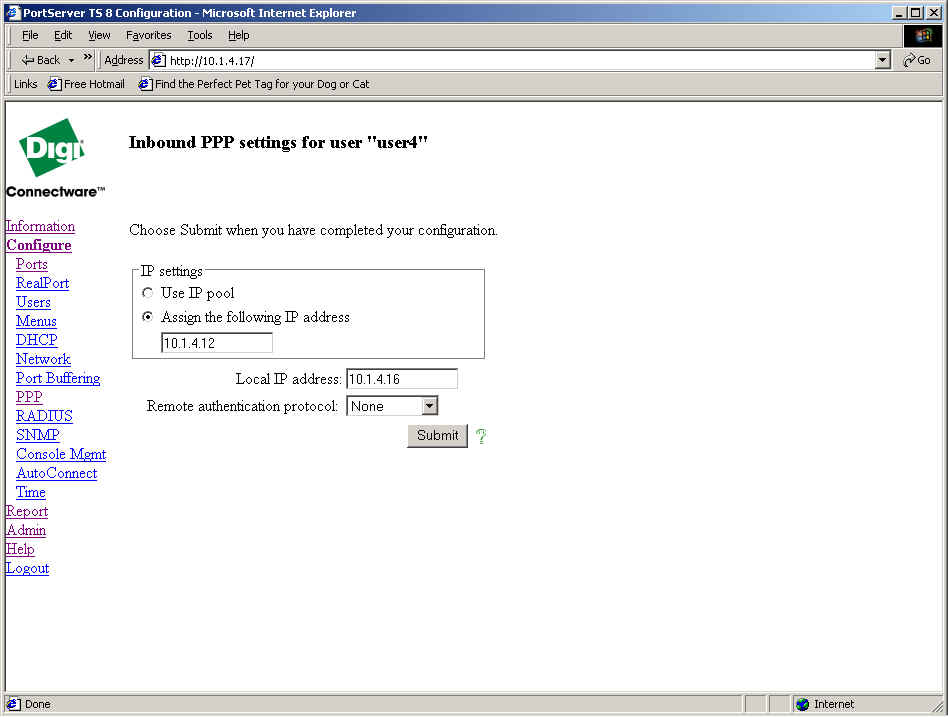
13. Give the user an IP Address and set a Local IP Address.
Local IP address - This is the IP address for the Digi
device's side of the PPP link. This address must be unique. That is, no other
user
can be assigned this IP address.